溫馨提示×
您好,登錄后才能下訂單哦!
點擊 登錄注冊 即表示同意《億速云用戶服務條款》
您好,登錄后才能下訂單哦!
這篇文章主要介紹OpenCV怎么實現相機標定板,文中介紹的非常詳細,具有一定的參考價值,感興趣的小伙伴們一定要看完!
具體內容如下
#include <opencv.hpp>
#include "highgui.h"
#include "cxcore.h"

using namespace cv;

int main0(int argc, char *argv[])
{
    int width = 140;//width and heigth of single square
    int height = 140;
        IplImage *src = cvCreateImage(cvSize(width*(10+1),width*(6+1)), IPL_DEPTH_8U, 1);//in the CalibrationAndTest.cpp ,there is a param called boardsize(10,6), causing here:(10+1),(6+1)
        cvZero(src);
        for (int i = 0; i < src->height; i++)
        {
            for (int j = 0; j < src->width; j++)
            {
                if ((i / width + j / height) % 2 != 0)
                {
                    src->imageData[i*src->widthStep + j * src->nChannels] = 255;
                }
            }
        }

        //cvNamedWindow("src");
        cvShowImage("src", src);

        //cvSaveImage("ChessBoard.bmp", src, 0);
        cvWaitKey(0);

        return 0;
}
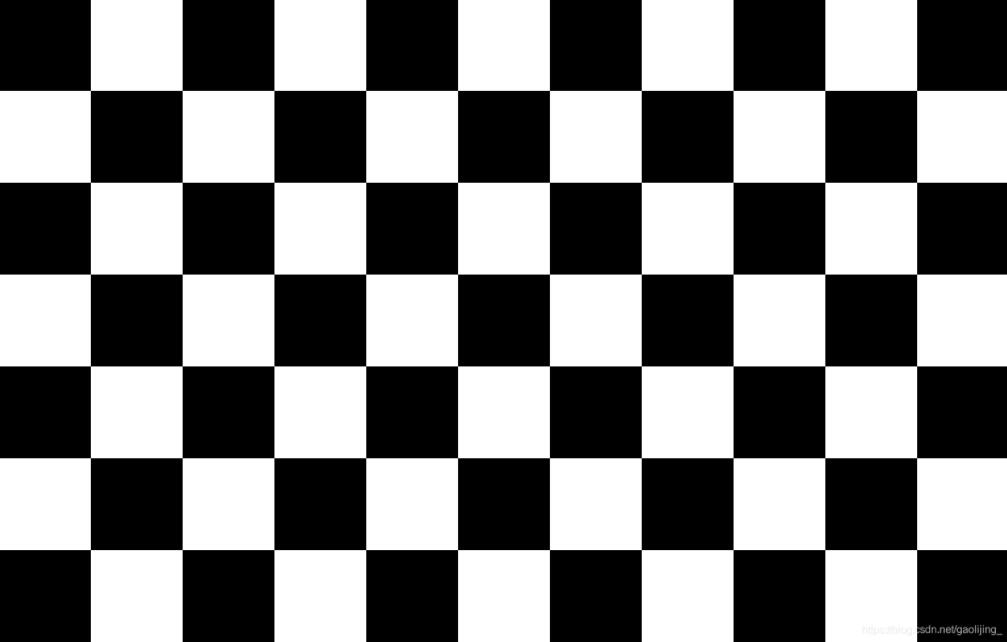
將該程序生成的圖片使用A4紙鋪滿的方式打印出來,貼在一個剛體的板子上,即可用于相機標定。
以上是“OpenCV怎么實現相機標定板”這篇文章的所有內容,感謝各位的閱讀!希望分享的內容對大家有幫助,更多相關知識,歡迎關注億速云行業資訊頻道!
免責聲明:本站發布的內容(圖片、視頻和文字)以原創、轉載和分享為主,文章觀點不代表本網站立場,如果涉及侵權請聯系站長郵箱:is@yisu.com進行舉報,并提供相關證據,一經查實,將立刻刪除涉嫌侵權內容。