溫馨提示×
您好,登錄后才能下訂單哦!
點擊 登錄注冊 即表示同意《億速云用戶服務條款》
您好,登錄后才能下訂單哦!
這篇文章主要介紹SpringBoot怎么實現國際化過程,文中介紹的非常詳細,具有一定的參考價值,感興趣的小伙伴們一定要看完!
實現方法:thymeleaf模板引擎加上BootStrap
準備工作:
1.將準備好的Bootstrap模板放在templates下讓SpringBoot進行自動配置
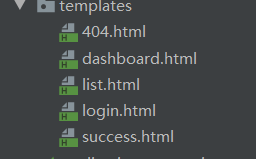
SpringBoot自動配置會自動到(idea的shif鍵連按兩下進入全局搜索)
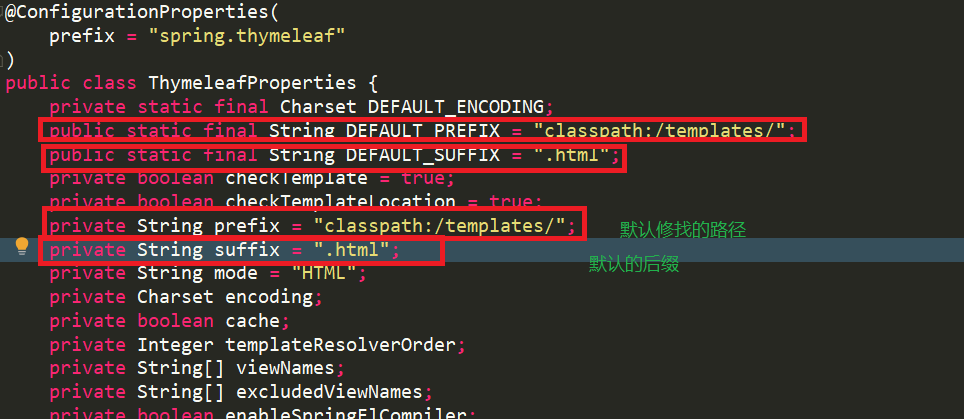
2.Bootstrp的引入(這里是maven以depency的方式引入)
<!--引入bootstrap-->
    <dependency>
      <groupId>org.webjars</groupId>
      <artifactId>bootstrap</artifactId>
      <version>4.0.0</version>
    </dependency>
3.thymeleaf的引入
<dependency>
      <groupId>org.springframework.boot</groupId>
      <artifactId>spring-boot-starter-thymeleaf</artifactId>
    </dependency>
4.編寫國際化配置文件
使用ResourceBundleMessageSource管理國際化資源文件
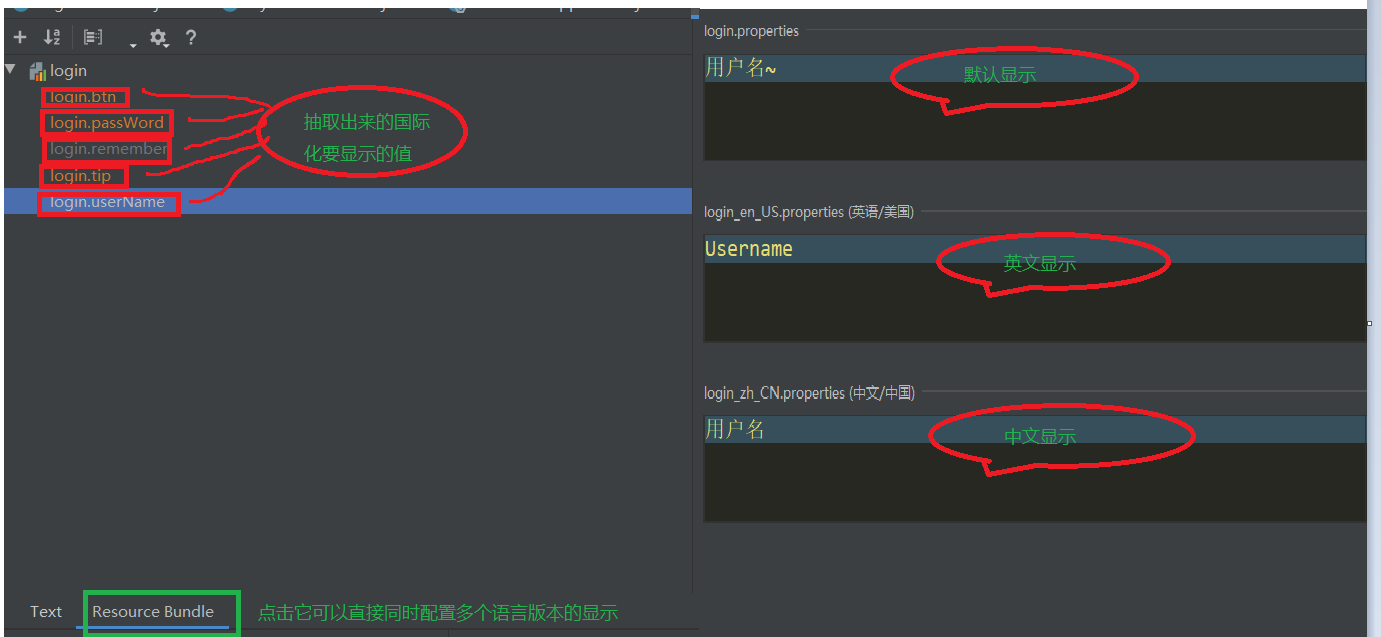
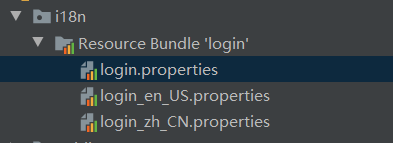
springBoot默認配置

自己配置的國際化的代碼:
package com.zyb.webdemo.component;

import org.springframework.web.servlet.LocaleResolver;
import org.thymeleaf.util.StringUtils;

import javax.servlet.http.HttpServletRequest;
import javax.servlet.http.HttpServletResponse;
import java.util.Locale;

/**
 * 在鏈接上攜帶區域信息
 */

public class MyLocaleResolver implements LocaleResolver {

  @Override
  public Locale resolveLocale(HttpServletRequest request) {
    String l = request.getParameter("l");
    Locale locale = Locale.getDefault();
    if(!StringUtils.isEmpty(l)){
      String[] split = l.split("_");
      locale = new Locale(split[0],split[1]);
    }
    return locale;
  }

  @Override
  public void setLocale(HttpServletRequest request, HttpServletResponse response, Locale locale) {

  }
}
上面附帶鏈接

結果亂碼的解決方案;

效果圖:
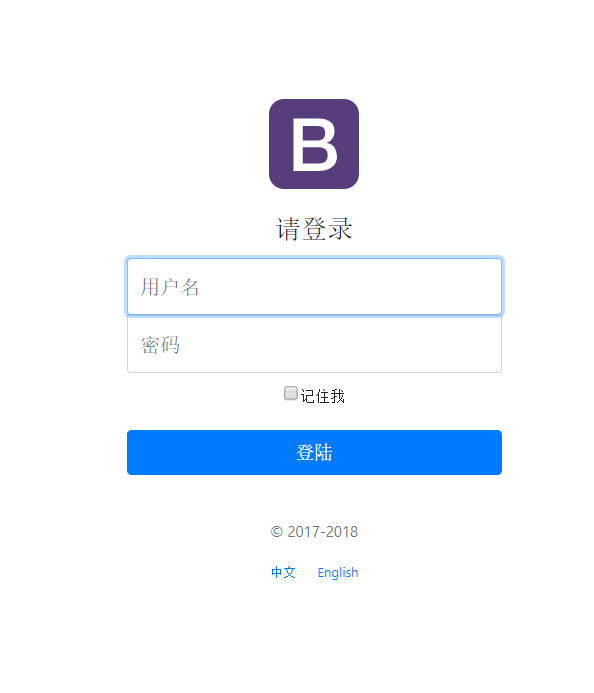
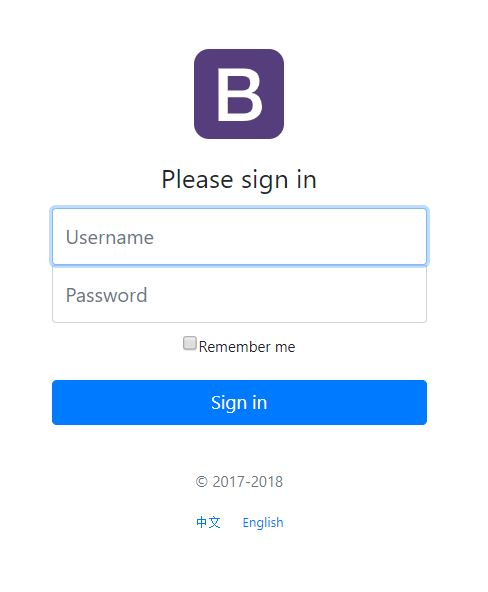
以上是“SpringBoot怎么實現國際化過程”這篇文章的所有內容,感謝各位的閱讀!希望分享的內容對大家有幫助,更多相關知識,歡迎關注億速云行業資訊頻道!
免責聲明:本站發布的內容(圖片、視頻和文字)以原創、轉載和分享為主,文章觀點不代表本網站立場,如果涉及侵權請聯系站長郵箱:is@yisu.com進行舉報,并提供相關證據,一經查實,將立刻刪除涉嫌侵權內容。