溫馨提示×
您好,登錄后才能下訂單哦!
點擊 登錄注冊 即表示同意《億速云用戶服務條款》
您好,登錄后才能下訂單哦!
小編給大家分享一下微信小程序開發制作麥克風動畫實現放大、淡出效果的案例,希望大家閱讀完這篇文章之后都有所收獲,下面讓我們一起去探討吧!
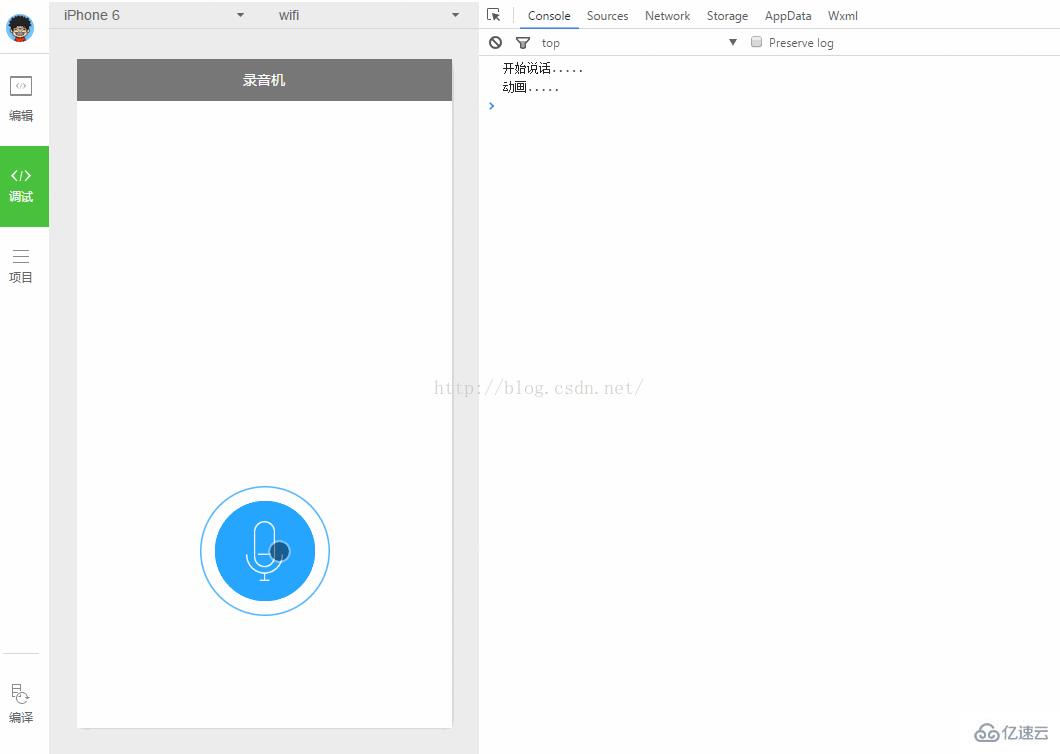
想做個錄音機,第一步就卡在麥克風動畫這里了.
先上gif.再吐槽.

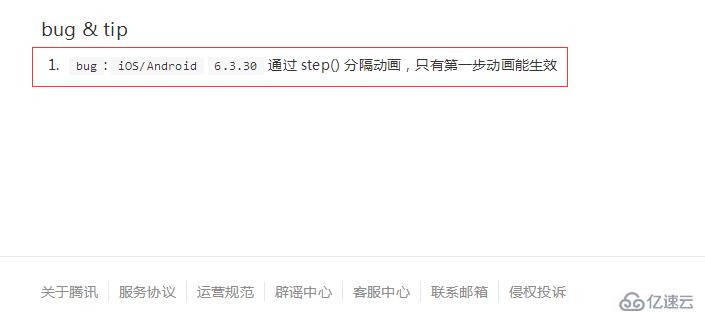
① 上面gif中聲波的動畫是個半成品.沒有循環播放.在微信小程序的開發文檔上找了很久,也沒找到循環模式的參數設置.用setInterval()并不執行動畫.我在微信小程序文檔 動畫最下面找到這么一行字.這個鍋是不是可以甩出去了?
ps:如果有同學能實現動畫循環,一定告訴我.

② 麥克風里面是個幀動畫.沒有前端的基礎,只能用非主流的辦法湊合了.
用wx:if{{}}判斷js中定義的值是不是等于圖片對應的數字來控制圖片的顯示和隱藏.css中應該有更好的方法.我css基礎不牢,就不說了.
上代碼:
1.index.wxml
<!--index.wxml-->
<view class="voice-style" bindtap="startSpeak">
<image class="bg-style" src="../../images/voice_icon_speaking_bg_normal.png" ></image>
<image class="bg-style" animation="{{spreakingAnimation}}" src="../../images/voice_video_loading_0.png"></image>
<image class="bg-style" animation="{{spreakingAnimation_1}}" src="../../images/voice_video_loading_0.png"></image>
<image class="bg-style" animation="{{spreakingAnimation_2}}" src="../../images/voice_video_loading_0.png"></image>
<image class="sound-style" src="../../images/voice_icon_speech_sound_1.png" ></image>
<image wx:if="{{j==2}}" class="sound-style" src="../../images/voice_icon_speech_sound_2.png" ></image>
<image wx:if="{{j==3}}" class="sound-style" src="../../images/voice_icon_speech_sound_3.png" ></image>
<image wx:if="{{j==4}}" class="sound-style" src="../../images/voice_icon_speech_sound_4.png" ></image>
<image wx:if="{{j==5}}"class="sound-style" src="../../images/voice_icon_speech_sound_5.png" ></image>
</view>
2.index.js
//index.js
//獲取應用實例
var app = getApp()
Page({
 data: {
  spreakingAnimation: {},//放大動畫
  j: 1,//幀動畫初始圖片
  isSpeaking: false,//是否在錄音狀態
 },
 onLoad: function () {
 },
 //點擊開始說話
 startSpeak: function () {
  var _this = this;
  if (!this.data.isSpeaking) {
   speaking.call(this);
   this.setData({
    isSpeaking: true
   })
  } else {
   //去除幀動畫循環
   clearInterval(this.timer)
   this.setData({
    isSpeaking: false,
    j: 1
   })
  }
 },
})

function speaking() {
 //話筒幀動畫
 var i = 1;
 this.timer = setInterval(function () {
  i++;
  i = i % 5;
  _this.setData({
   j: i
  })
  return
 }, 200);
 //波紋放大,淡出動畫
 var _this = this;
 var animation = wx.createAnimation({
  duration: 1000
 })
 animation.opacity(0).scale(3, 3).step();//修改透明度,放大
 this.setData({
  spreakingAnimation: animation.export()
 })
 setTimeout(function(){
  //波紋放大,淡出動畫
 var animation = wx.createAnimation({
  duration: 1000
 })
 animation.opacity(0).scale(3, 3).step();//修改透明度,放大
 _this.setData({
  spreakingAnimation_1: animation.export()
 })
 },250)
  setTimeout(function(){
  //波紋放大,淡出動畫
 var animation = wx.createAnimation({
  duration: 1000
 })
 animation.opacity(0).scale(3, 3).step();//修改透明度,放大
 _this.setData({
  spreakingAnimation_2: animation.export()
 })
 },500)
}
3.index.wxss
/**index.wxss**/
.voice-style {
 margin-top: 400px;
 display: flex;
 position: relative;
 flex-direction: column;
 align-items: center;
}
.bg-style {
 position: absolute;
 width: 100px;
 height: 100px;
}
.sound-style{
 position: absolute;
 width: 37.6px;
 height: 60px;
 margin-top: 20px;
}
看完了這篇文章,相信你對“微信小程序開發制作麥克風動畫實現放大、淡出效果的案例”有了一定的了解,如果想了解更多相關知識,歡迎關注億速云行業資訊頻道,感謝各位的閱讀!
免責聲明:本站發布的內容(圖片、視頻和文字)以原創、轉載和分享為主,文章觀點不代表本網站立場,如果涉及侵權請聯系站長郵箱:is@yisu.com進行舉報,并提供相關證據,一經查實,將立刻刪除涉嫌侵權內容。