溫馨提示×
您好,登錄后才能下訂單哦!
點擊 登錄注冊 即表示同意《億速云用戶服務條款》
您好,登錄后才能下訂單哦!
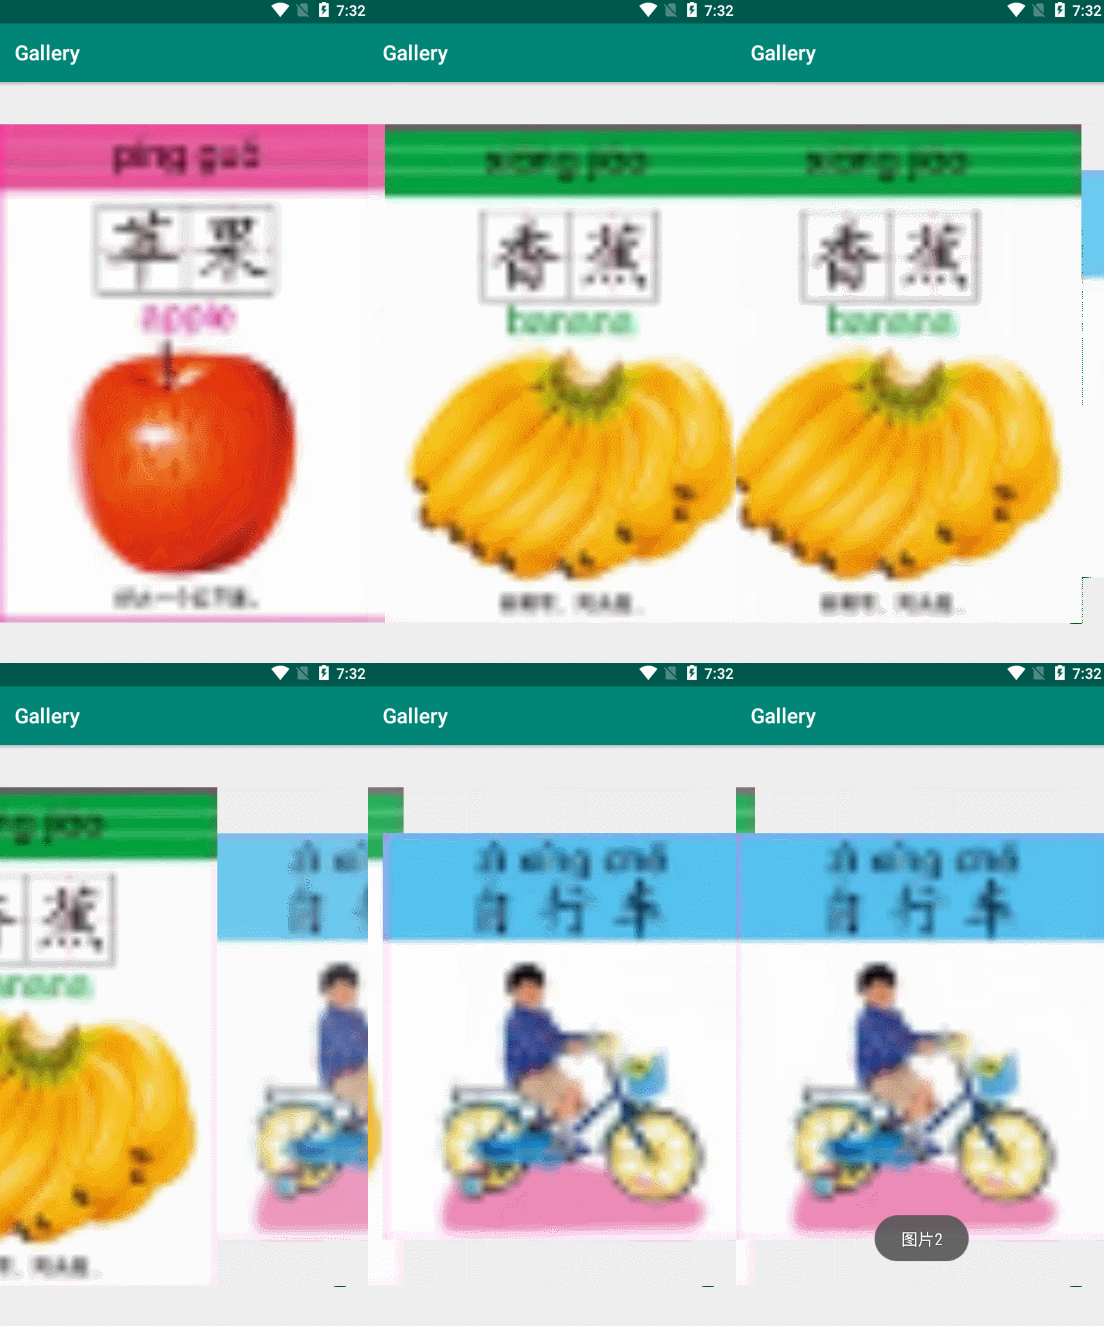
本文實例為大家分享了Android實現Gallery畫廊的具體代碼,供大家參考,具體內容如下
僅是實現基本功能,頁面粗糙請見諒
圖片下標0開始

activity_main.xml頁面:
<?xml version="1.0" encoding="utf-8"?>
<RelativeLayout xmlns:android="http://schemas.android.com/apk/res/android"
  xmlns:tools="http://schemas.android.com/tools"
  android:layout_width="match_parent"
  android:layout_height="match_parent"
  tools:context="com.example.gallery.MainActivity">

  <Gallery
    android:id="@+id/galPicture"
    android:layout_width="match_parent"
    android:layout_height="match_parent"
    android:layout_centerVertical="true"
    android:layout_centerHorizontal="true" />
</RelativeLayout>
GalleryAdapter.java頁面:
package com.example.gallery;

import android.content.Context;
import android.view.View;
import android.view.ViewGroup;
import android.widget.BaseAdapter;
import android.widget.Gallery;
import android.widget.ImageView;

public class GalleryAdapter extends BaseAdapter {
  private Context mContext;

  int[] images = {R.mipmap.apple, R.mipmap.banana, R.mipmap.bicycle, R.mipmap.chair,R.mipmap.chopsticks, R.mipmap.dog, R.mipmap.fish, R.mipmap.pear}; //本地圖片

  public GalleryAdapter (Context context) {
    this.mContext = context;
  }

  @Override
  public int getCount() {
    return images.length;
  }

  @Override
  public Object getItem(int i) {
    return i;
  }

  @Override
  public long getItemId(int i) {
    return i;
  }

  @Override
  public View getView(int i, View view, ViewGroup viewGroup) {
    ImageView image = new ImageView(mContext);
    image.setImageResource(images[i]);  //設置圖片
    image.setAdjustViewBounds(true);  //是否調整邊框
    image.setLayoutParams(new Gallery.LayoutParams(ViewGroup.LayoutParams.MATCH_PARENT, ViewGroup.LayoutParams.MATCH_PARENT));
    return image;
  }
}
MainActivity.java頁面:
package com.example.gallery;

import android.support.v7.app.AppCompatActivity;
import android.os.Bundle;
import android.view.View;
import android.widget.AdapterView;
import android.widget.Gallery;
import android.widget.Toast;

public class MainActivity extends AppCompatActivity {
  GalleryAdapter galleryAdapter;

  @Override
  protected void onCreate(Bundle savedInstanceState) {
    super.onCreate(savedInstanceState);
    setContentView(R.layout.activity_main);
    Gallery galPicture = findViewById(R.id.galPicture);
    galleryAdapter = new GalleryAdapter(MainActivity.this);
    galPicture.setAdapter(galleryAdapter);
    //相應的點擊事件
    galPicture.setOnItemClickListener(new AdapterView.OnItemClickListener() {
      @Override
      public void onItemClick(AdapterView<?> adapterView, View view, int i, long l) {
        Toast.makeText(MainActivity.this, "圖片" + i, Toast.LENGTH_LONG).show();
      }
    });
  }
}
以上就是本文的全部內容,希望對大家的學習有所幫助,也希望大家多多支持億速云。
免責聲明:本站發布的內容(圖片、視頻和文字)以原創、轉載和分享為主,文章觀點不代表本網站立場,如果涉及侵權請聯系站長郵箱:is@yisu.com進行舉報,并提供相關證據,一經查實,將立刻刪除涉嫌侵權內容。