溫馨提示×
您好,登錄后才能下訂單哦!
點擊 登錄注冊 即表示同意《億速云用戶服務條款》
您好,登錄后才能下訂單哦!
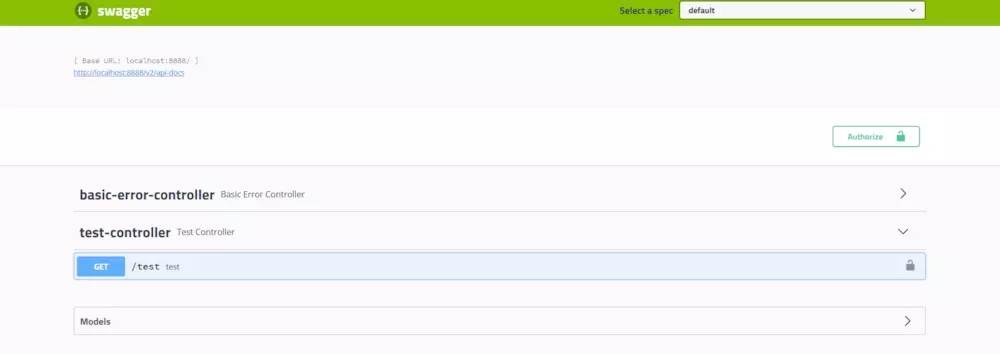
這篇文章主要介紹SpringBoot結合swagger2如何生成接口文檔,文中介紹的非常詳細,具有一定的參考價值,感興趣的小伙伴們一定要看完!
1. pom.xml中加入依賴
<dependency>
      <groupId>com.spring4all</groupId>
      <artifactId>swagger-spring-boot-starter</artifactId>
      <version>1.8.0.RELEASE</version>
    </dependency>
2. 在啟動類(即帶@SpringBootApplication這個注解的類)上添加@EnableSwagger2Doc注解
3. 在application.properties中配置如下
swagger.enabled=true
swagger.title=spring-boot-mybatis module api
swagger.description=Starter for swagger 2.x
swagger.license=Apache License, Version 2.0
swagger.licenseUrl=https://www.apache.org/licenses/LICENSE-2.0.html
swagger.termsOfServiceUrl=https://github.com/pbw123/spring-boot-demo
swagger.contact.name=mqXu
swagger.contact.url=https://www.jianshu.com/u/2f60beddf923
swagger.contact.email=2635225112@qq.com
swagger.base-package=com.springboot.mybatis.controller
swagger.base-path=/**
swagger.exclude-path=/error, /ops/**
經我多次嘗試application.properties中不加任何swagger配置也可生成文檔進行正常測試

另一種用swagger自動生成文檔的方式請前往
以上是“SpringBoot結合swagger2如何生成接口文檔”這篇文章的所有內容,感謝各位的閱讀!希望分享的內容對大家有幫助,更多相關知識,歡迎關注億速云行業資訊頻道!
免責聲明:本站發布的內容(圖片、視頻和文字)以原創、轉載和分享為主,文章觀點不代表本網站立場,如果涉及侵權請聯系站長郵箱:is@yisu.com進行舉報,并提供相關證據,一經查實,將立刻刪除涉嫌侵權內容。