您好,登錄后才能下訂單哦!
您好,登錄后才能下訂單哦!
本篇文章給大家分享的是有關使用Flutter怎么實現一個文本組件,小編覺得挺實用的,因此分享給大家學習,希望大家閱讀完這篇文章后可以有所收獲,話不多說,跟著小編一起來看看吧。
?文本組件
文本組件(text)負責顯示文本和定義顯示樣式,下表為text常見屬性
Text組件屬性及描述
| 屬性名 | 類型 | 默認值 | 說明 |
| data | String | 要顯示的文本 | |
| maxLines | int | 0 | 文本要顯示的最大行數 |
| style | TextStyle | null | 文本樣式,可定義文本的字體大小、顏色、粗細等 |
| textAlign | TextAlign | TextAlign.center | 文本水平方向的對齊方式,取值有center、end、justify、left、right、start、values |
| textDirection | TextDirection | TextDirection.ltr | 文本的書寫方向,如從左到右、從右到左 |
| textScaleFactor | double | 1.0 | 字體的縮放系數,比如,如果此屬性設置的值為1.5,那么字體會被放大到150%,也就是說比原來大了50% |
| textSpan | TextSpan | null | 文本塊,TextSpan里可以包含文本內容及樣式 |
老樣子,按照慣例附上Demo,創建多個文本組件來展示不同的文本樣式,比如不同的顏色,不同的自號,不同的線形等。
import 'package:flutter/material.dart';
void main() => runApp(DemoApp());
class DemoApp extends StatelessWidget{
 @override
 Widget build(BuildContext context) {
 return new MaterialApp(
  title: '文本組件Demo',
  home: new Scaffold(
  appBar: new AppBar(
   title: Text('文本組件Demo'),
  ),
  body: new Column(
   children: <Widget>[
   new Text(
    '第一個文本Demo',
    style: new TextStyle(
    color: Colors.amberAccent,
    fontSize: 20,
    ),
   ),
   new Text(
    '第二個文本Demo',
    style: new TextStyle(
    color: Colors.deepOrange,
    fontSize: 20,
    ),
    textScaleFactor: 1.5,//放大50%
   ),
   new Text(
    '第三個文本Demo(瞎寫的瞎寫的瞎寫的瞎寫的瞎寫的瞎寫的瞎寫的瞎寫的瞎寫的瞎寫的瞎寫的瞎寫的瞎寫的瞎寫的瞎寫的瞎寫的瞎寫的)',
    style: new TextStyle(
    color: Colors.blue,
    fontSize: 20,
    ),
    textAlign: TextAlign.end,//右對齊
   ),
   new Text(
    '''第四個文本Demo
    換到第二行,看看能不能顯示的出來呢''',
    style: new TextStyle(
    fontSize: 20,
    color: Colors.green,
    ),
    maxLines: 2,//最大顯示2行
   ),
   new Text(
    '第五個Demo,設置水平方向文案超出屏幕后,顯示...(瞎寫的字瞎寫的字瞎寫的字瞎寫的字瞎寫的字瞎寫的字瞎寫的字瞎寫的字)',
    style: new TextStyle(
    fontSize: 20,
    color: Colors.black,
    ),
    overflow: TextOverflow.ellipsis,//水平方向超出屏幕顯示...
   )
   ],
  ),//垂直方向排列
  ),
 );
 }
}
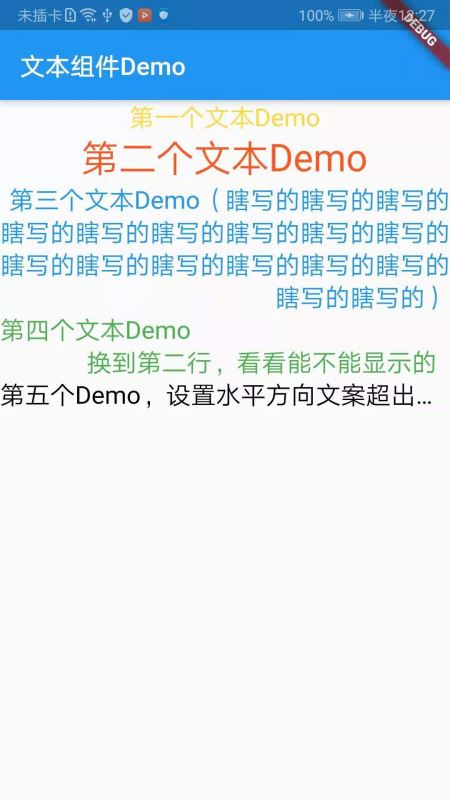
除了這些,還有很多其他的屬性等著我們去嘗試,我就不一一都寫出來了,我也是剛開始接觸Flutter,有些地方還不是很理解,希望以后接觸的多了,可以豁然開朗吧!!!給大家看一下效果圖:

?圖標及按鈕組件
?圖標組件
圖標組件(Icon)為展示圖標的組件,該組件不可交互,要實現可交互,可以考慮使用IconButton組件,圖標組件相關的組件有一下幾個:
1.IconButton:可交互的Icon
2.Icons:框架自帶Icon集合
3.IconTheme:Icon主題
4.ImageIcon:通過AssetImages或者其他圖片顯示Icon
圖標組件常用屬性表
| 屬性名 | 類型 | 默認值 | 說明 |
| color | Color | null | 圖標的顏色 |
| icon | IconData | null | 展示的具體圖標,可以使用Icons圖標列表中的任意一個圖標即可,如Icons.phone表示一個電話的圖標 |
| style | TextStyle | null | 文本樣式 |
| size | Double | 24.0 | 圖標的大小,注意要帶上小數位 |
| textDirection | TextDirection | TextDirection.ltr | 文本排列方向 |
附上Demo代碼:
import 'package:flutter/material.dart';
void main() => runApp(DemoApp());
class DemoApp extends StatelessWidget{
 @override
 Widget build(BuildContext context) {
 return new MaterialApp(
  title: '圖標組件Demo',
  home: new IconDemo(),
 );
 }
}
class IconDemo extends StatelessWidget {
 @override
 Widget build(BuildContext context) {
 return new Scaffold(
  appBar: new AppBar(
  title: new Text('圖標組件Demo'),
  ),
  body: new Center(
  child: new Icon(
   Icons.android,//圖標Icon
   color: Colors.green,//圖標顏色,設置為綠色,原本的顏色是黑色的
   size: 150.0,//Icon的大小
  ),
  ),
 );
 }
}
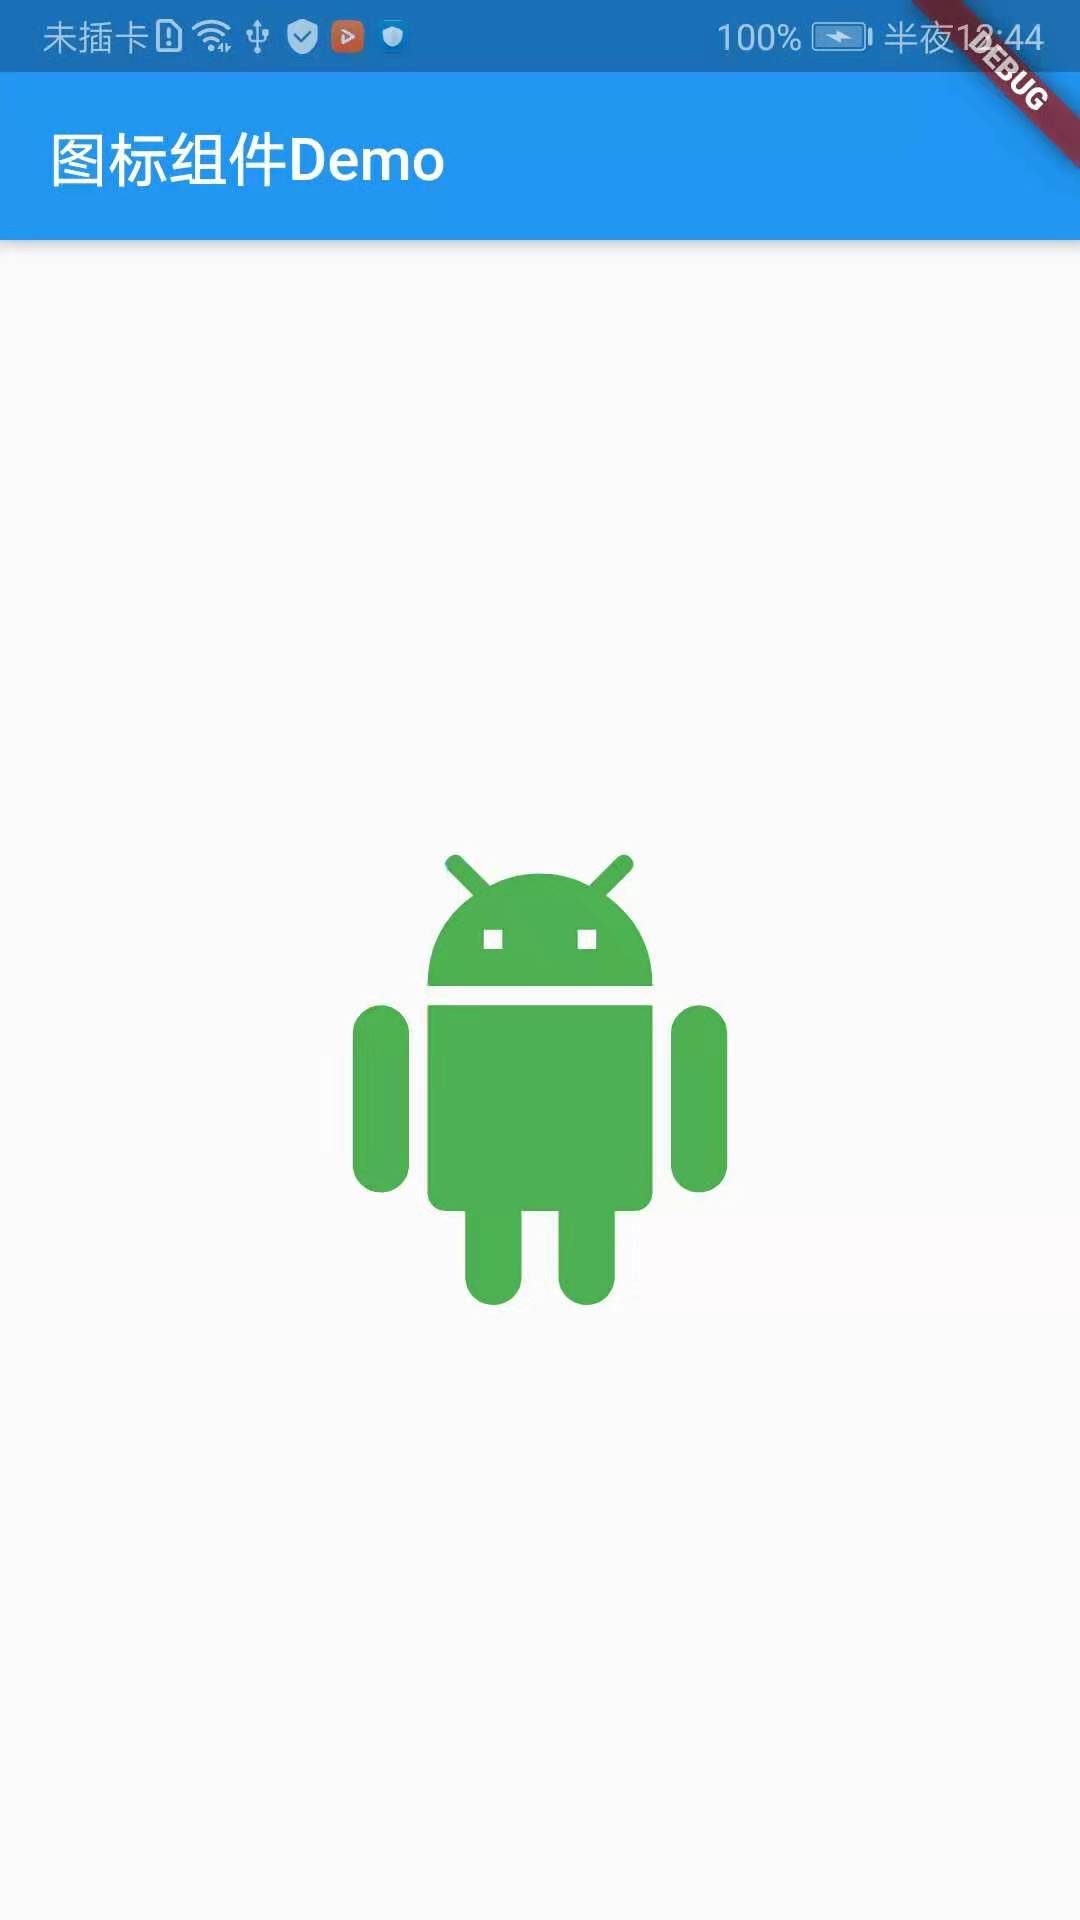
附上效果截圖:

?圖標按鈕組件
圖標按鈕組件(IconButton)是基于Material Design風格的組件,他可以響應按下事件,并且按下時會帶一個水波紋的效果,如果它的onPressed回調函數為null,那么這個按鈕處于禁用的狀態,并且不可以按下。
IconButton組件屬性及描述
| 屬性名 | 類型 | 默認值 | 說明 |
| alignment | AlignmentGeometry | Alignment.center | 定義IconButton的Icon對齊方式,默認為居中,Alignment是可以設置x,y偏移量的 |
| icon | Widget | null | 展示的具體圖標,可以使用Icons圖標列表中的任意一個圖標 |
| color | Color | null | 圖標顏色 |
| disabledColor | Color | ThemeData.disableColor | 圖標組件禁用的顏色 |
| iconSize | double | 24.0 | 圖標大小 |
| onPressed | VoidCallBack | null | 當按鈕按下時會觸發此回調事件 |
| tooltip | String | “” | 當按鈕按下時的組件提示語 |
寫一個Demo,實現點擊IconButton,出發onPressed回調并toast一句話,附上Demo代碼:
import 'package:flutter/material.dart';
import 'package:fluttertoast/fluttertoast.dart';
void main() => runApp(DemoApp());
class DemoApp extends StatelessWidget{
 @override
 Widget build(BuildContext context) {
 return new MaterialApp(
  debugShowCheckedModeBanner: false,
  title: 'IconButtonDemo',
  home: new IconButtonDemo(),
 );
 }
}
class IconButtonDemo extends StatelessWidget {
 @override
 Widget build(BuildContext context) {
 return new Scaffold(
  appBar: AppBar(
  title: Text('IconButton Demo'),
  leading: Icon(Icons.menu),
  actions: <Widget>[
   IconButton(
   icon: Icon(Icons.search),
   )
  ],
  ),
  body: new Center(
  child: new IconButton(
   icon: Icon(Icons.add_circle_outline),
   iconSize: 50.0,
   tooltip: '用戶按下了按鈕',
   disabledColor: Colors.green,
   onPressed: (){
    Fluttertoast.showToast(
    msg: '點擊了IconButton并且Toas了一句話',
    toastLength: Toast.LENGTH_LONG,
    textColor: Colors.deepOrange,
    gravity: ToastGravity.BOTTOM
    );
  }),
  ),
 );
 }
}
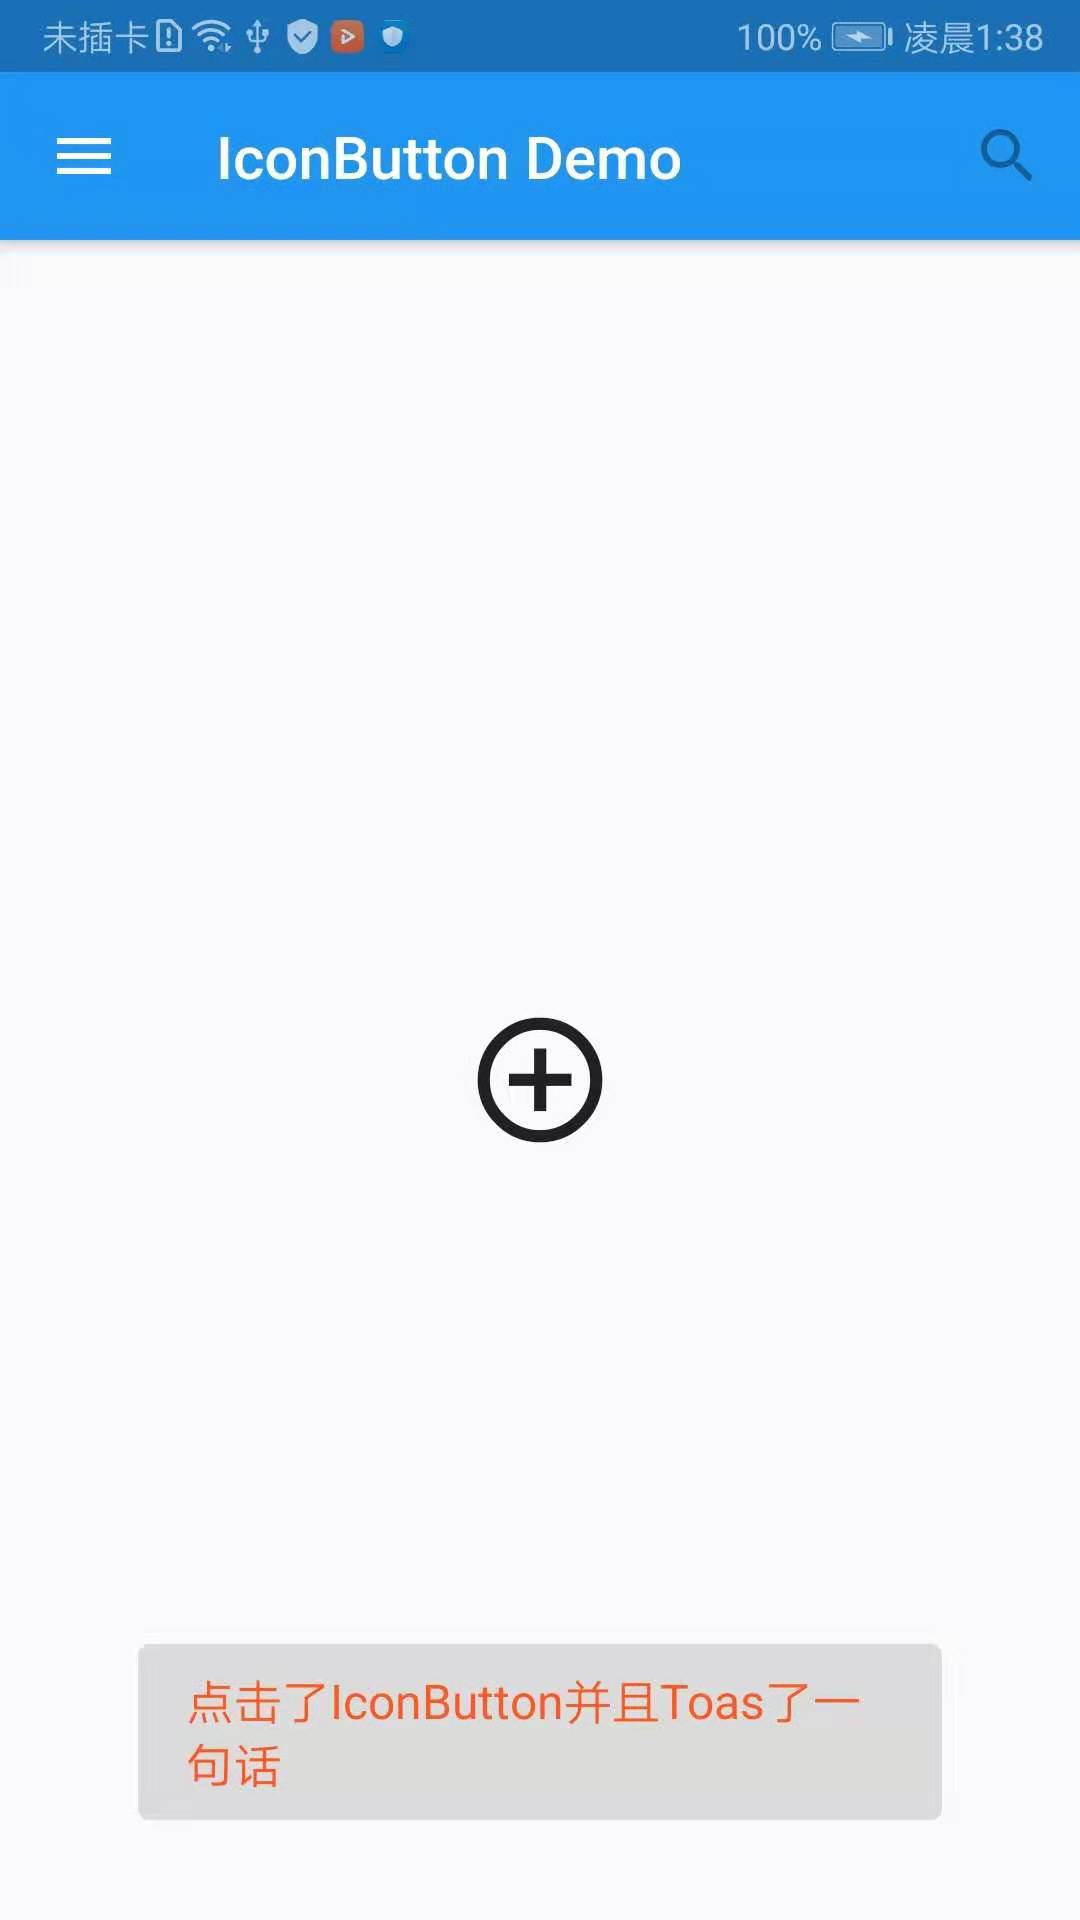
附上效果截圖:

上面的代碼除了演示了IconButton的簡單使用,還對AppBar做了一些出了,在title的左右增加了兩個圖片,當然你也可以對其設置點擊事件
注:這里和大家說一下在Flutter中怎么Toast出提示語,首先在pubspec.yaml引入fluttertoast包,點擊Packages get,然后在你需要toast的地方import該庫
//pubspec.yaml
fluttertoast: ^2.2.11

//import對應庫
import 'package:fluttertoast/fluttertoast.dart';
? 凸起按鈕組件
突起按鈕組件(RaisedButton),往往我們在開發過程中,不會一直用系統的圖標,那么如果一個按鈕上需要我們添加自定義的文本,這樣的按鈕要怎么實現呢?
import 'package:flutter/material.dart';
import 'package:fluttertoast/fluttertoast.dart';
void main() => runApp(DemoApp());
class DemoApp extends StatelessWidget{
 @override
 Widget build(BuildContext context) {
 return new MaterialApp(
  debugShowCheckedModeBanner: false,
  title: 'IconButtonDemo',
  home: new IconButtonDemo(),
 );
 }
}
class IconButtonDemo extends StatelessWidget {
 @override
 Widget build(BuildContext context) {
 return new Scaffold(
  appBar: AppBar(
  title: Text('IconButton Demo'),
  leading: Icon(Icons.menu),
  actions: <Widget>[
   IconButton(
   icon: Icon(Icons.search),
   )
  ],
  ),
  body: new Center(
  child: new RaisedButton(
   padding: const EdgeInsets.all(10.0),//內間距
   splashColor: Colors.blue,//點擊時按鈕的顏色
   elevation: 10,
   shape: BeveledRectangleBorder(//帶斜角的長方形邊框
   borderRadius: BorderRadius.all(Radius.circular(5))//圓角
   ),
   onPressed: (){
   Fluttertoast.showToast(
    msg: '點擊了IconButton并且Toas了一句話',
    toastLength: Toast.LENGTH_LONG,
    textColor: Colors.deepOrange,
    gravity: ToastGravity.BOTTOM
   );
   },
   //按鈕內的文本
   child: new Text(
   '我是RaisedButton按鈕',
   style: TextStyle(
    color: Colors.green,
    fontSize: 20.0,
   ),
   ),
  ),
  ),
 );
 }
}
以上就是使用Flutter怎么實現一個文本組件,小編相信有部分知識點可能是我們日常工作會見到或用到的。希望你能通過這篇文章學到更多知識。更多詳情敬請關注億速云行業資訊頻道。
免責聲明:本站發布的內容(圖片、視頻和文字)以原創、轉載和分享為主,文章觀點不代表本網站立場,如果涉及侵權請聯系站長郵箱:is@yisu.com進行舉報,并提供相關證據,一經查實,將立刻刪除涉嫌侵權內容。