溫馨提示×
您好,登錄后才能下訂單哦!
點擊 登錄注冊 即表示同意《億速云用戶服務條款》
您好,登錄后才能下訂單哦!
由于最近一直在做公司的項目,而且比較急。如今項目已經迭代到第三期,可以緩一緩了。。。
說實話,最近一直再用android做開發,而且時間也不寬裕,react-native有點生疏了。
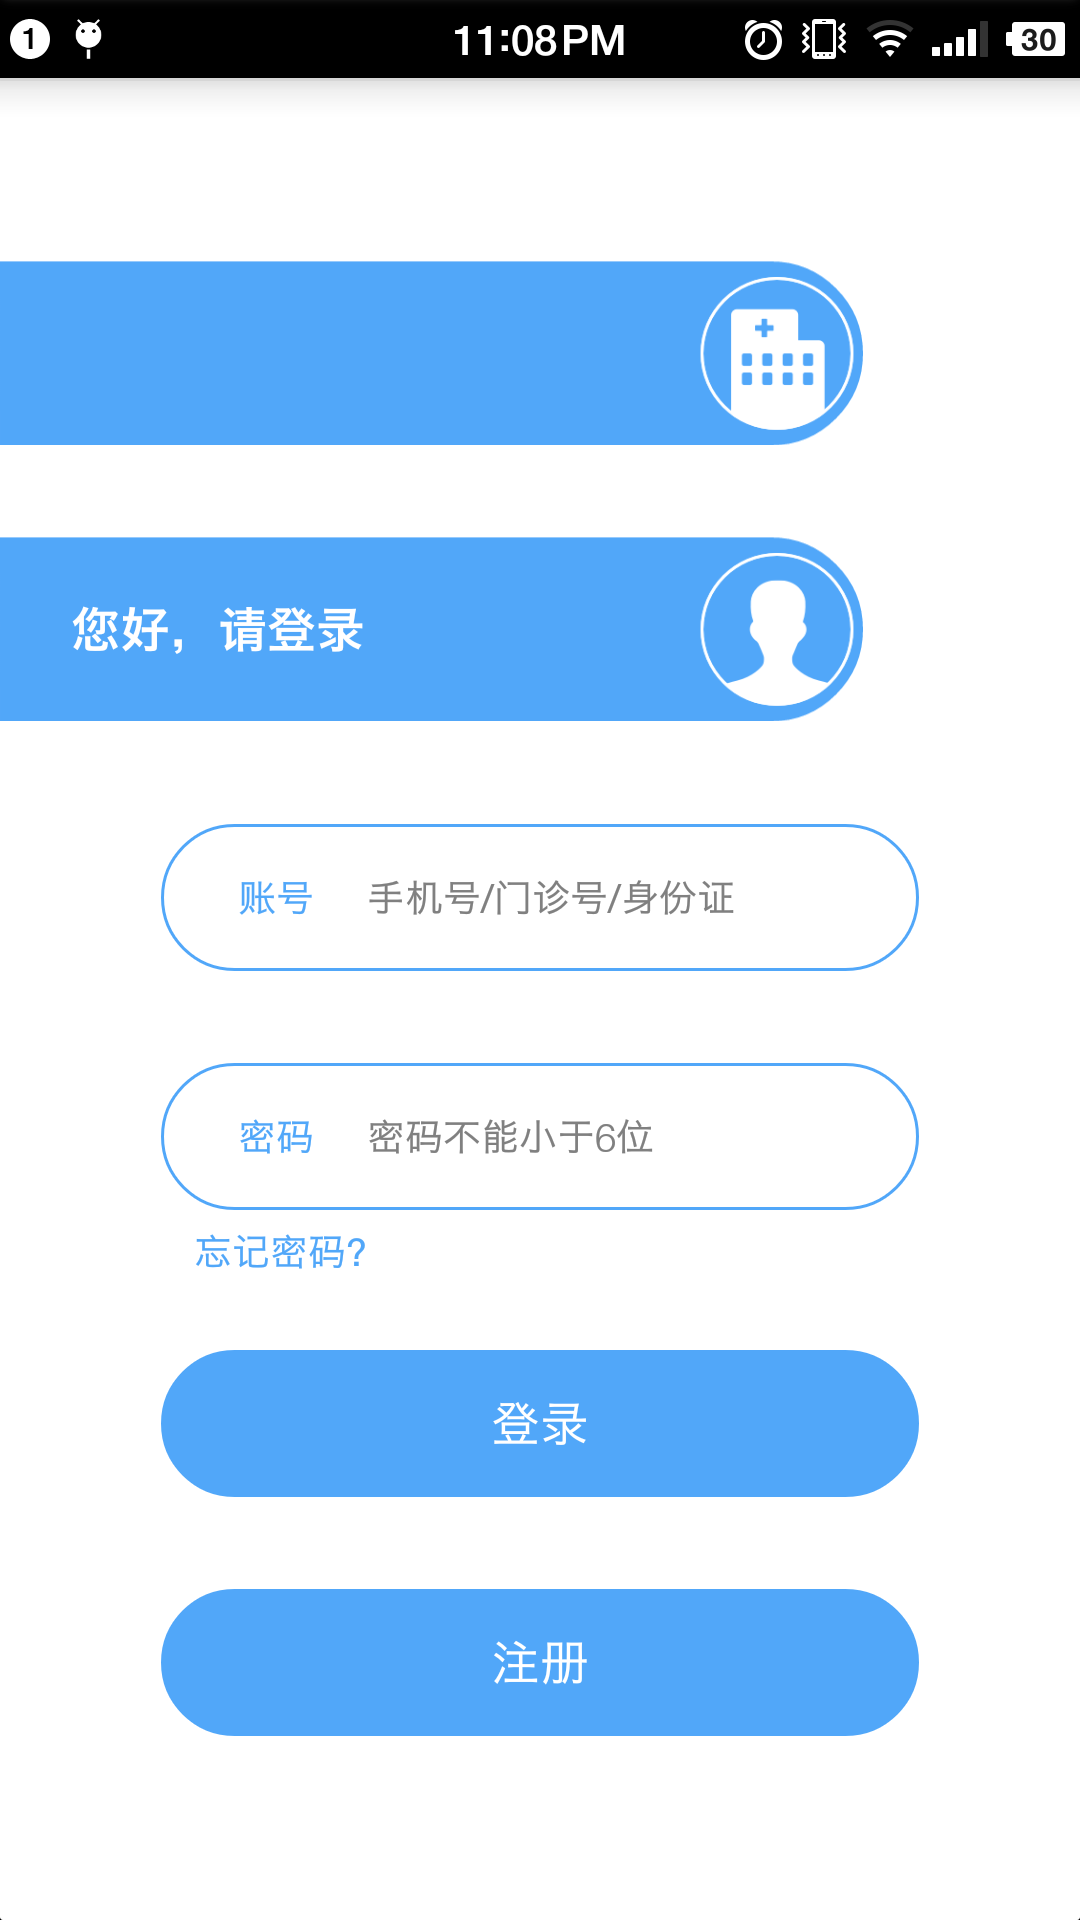
好了,廢話不多說,今天在做登錄界面的時候,我發現,登錄注冊的文本框樣式都是一個樣的,如果一個一個的寫,就會顯得有些麻煩了,于是我就簡單的封裝了一下TextInput這一個組件

上圖就是我放到登錄界面的效果啦。
代碼:
import React, { Component } from 'react';

import {
  Text,
  TextInput,
  View,
  PropTypes,
  StyleSheet,
  ToastAndroid
} from 'react-native'

class TextInputLogin extends Component {
  static propTypes = {
    name: React.PropTypes.string,
    txtHide: React.PropTypes.string,
    ispassword: React.PropTypes.bool
   }

  static defaultProps = {
    name: '名稱',
    txtHide: '內容',
    ispassword: false,
  }
   constructor (props) {
    super (props)
    this.state = {
     txtValue: "",
    }
  }
  render () {
    var { style, name, txtHide, ispassword } = this.props
    return(
      <View style={styles.container,style}>
        <View style={styles.txtBorder}>
          <Text style={styles.txtName}>{name}</Text>
          <TextInput
            underlineColorAndroid = {'transparent'}
            style={styles.textInput}
            multiline={false}
            placeholder={txtHide}
            password={ispassword}
            onChangeText={(text) => {
              this.setState({
                txtValue: text
              })
            }}
            value={this.state.txtValue}
          />
        </View>
      </View>
    )
  }
  getValue () {
    return this.state.txtValue
  }
}

const styles = StyleSheet.create({
  container: {
    flex: 1,
    alignItems: 'center',
    flexDirection: 'row'
  },
  txtBorder: {
    height: 50,
    flex: 1,
    borderWidth: 1,
    borderColor: '#51A7F9',
    marginLeft: 50,
    marginRight: 50,
    borderRadius: 25,
    flexDirection: 'row'
  },
  txtName: {
    height: 20,
    width: 40,
    marginLeft: 20,
    fontSize: 15,
    marginTop: 15,
    color: '#51A7F9',
    marginRight: 10,
    fontSize: 14
  },
  textInput: {
    height: 50,
    width: 200
  }
})

module.exports = TextInputLogin;
以上就是本文的全部內容,希望對大家的學習有所幫助,也希望大家多多支持億速云。
免責聲明:本站發布的內容(圖片、視頻和文字)以原創、轉載和分享為主,文章觀點不代表本網站立場,如果涉及侵權請聯系站長郵箱:is@yisu.com進行舉報,并提供相關證據,一經查實,將立刻刪除涉嫌侵權內容。